
Digital transformation is maybe the only way out now in terms of COVID-19 pandemic: whilst offline businesses suffer from quarantine and the necessity of staying and working home, that results on losing billions of dollars in everyday economics, the most active business owners start going online as fast as possible to stay on the wave.
To make a first steps from offline to online, you need to perform 3 steps:
- Choose a hosting provider
- Create a website
- Choose a domain
Commonly it may take several months and much resources investment, depending on the website complexity. And today I’m going to unveil how to easily create a website and start hosting it in the cloud in just a day!
Choosing a Hosting Provider
As we are located in Australia, we will consider 100% local cloud hosting provider with a highly-performed data center. So the chosen hosting provider is Cloudlets.com.au, that is the fastest and easiest platform for web applications hosting powered by Jelastic PaaS. Cloudlets provide a 14-day trial for testing the cloud platform, as well as a bonus: new customers will get double credit after their upgrade to billing account.
Now we'll show how to register at Cloudlets hosting.
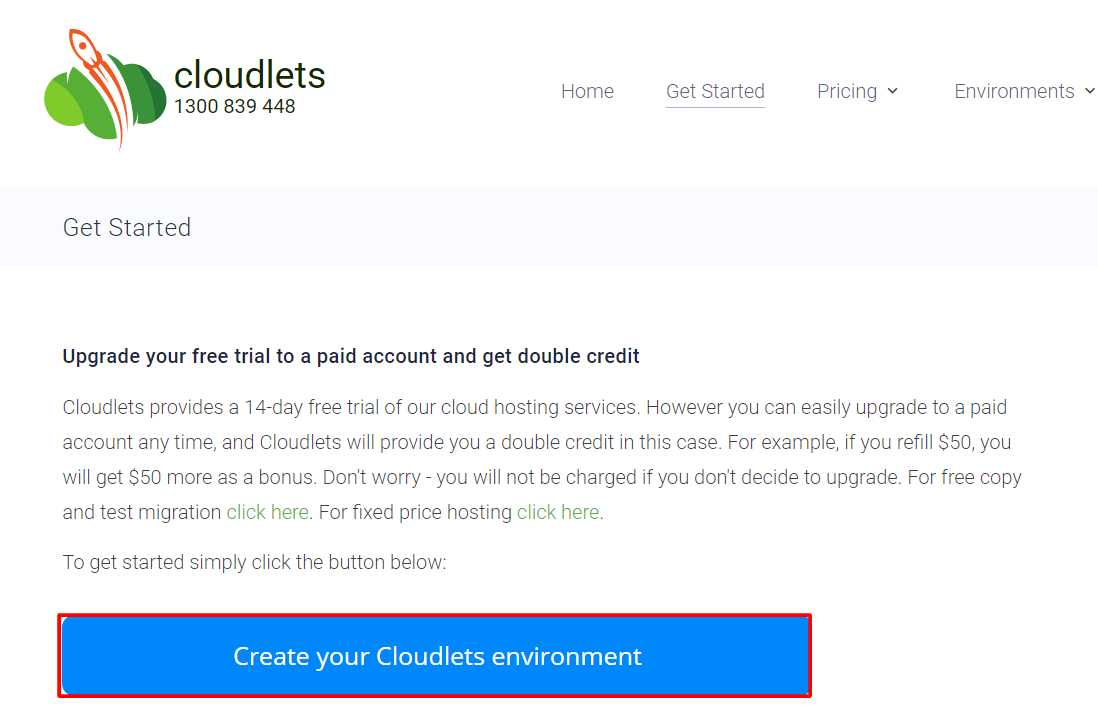
- Go to the web page https://cloudlets.com.au/get-started.html and click the button Create your Cloudlets environment
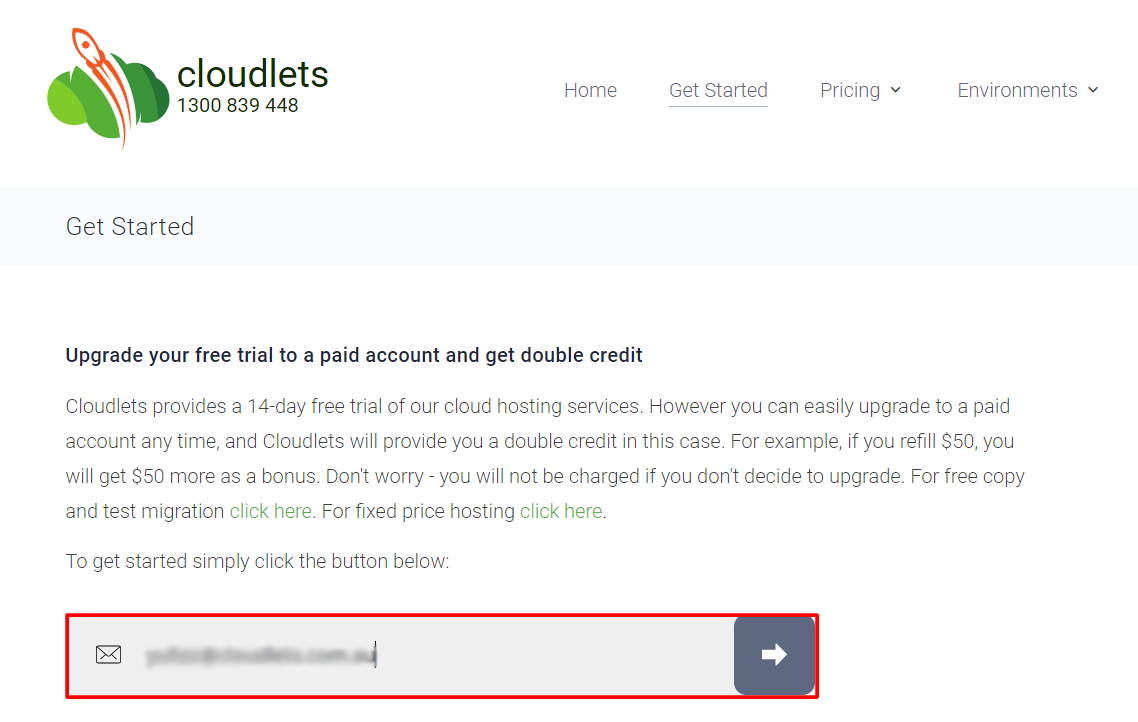
2. And then just write down your email and click the arrow.
3. Then you will receive an email with the login, the link to your dashboard, and the activation link. Click Activate account button

After activating account, you will have to verify your registration via SMS.
Note that free registration is available only for users from Australia and New Zealand, so if you need to try out Cloudlets hosting from other countries, - please email Cloudlets support.
Tip: The account activation link within your email is valid for 24 hours.
That’s it!
WordPress Application Deployment
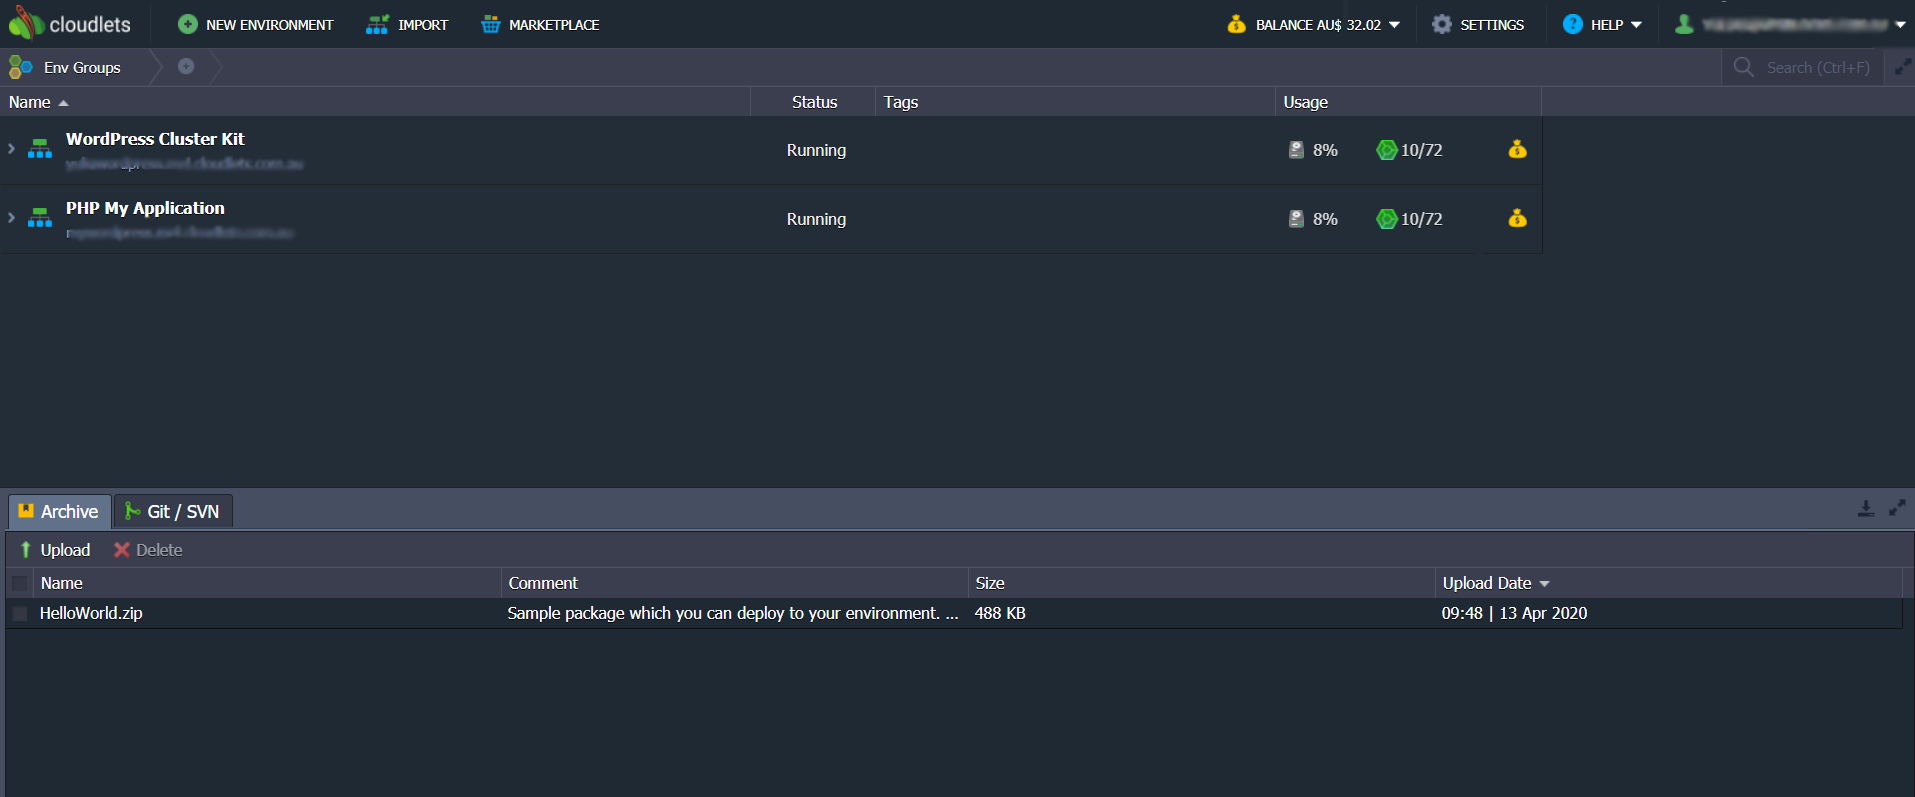
After activating account and verifying your account, you can access Cloudlets Australia hosting dashboard.
And this is how it looks inside.
When you access the Cloudlets dashboard for the first time, a short tutorial (can be manually called via the Help > Tutorial option) will be automatically started.
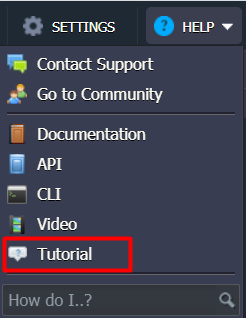
It provides you with a quick platform overview and a step-by-step walkthrough for your first environment creation and application deployment.
Cloudlets provide several options to create your first cloud hosting environment:
1 - Create new with your own topology settings
2 - Import your already existing environment via archive
3 - Install environment via Marketplace (it is the easiest option for new customers actually)
And today we will choose the third option - installation via Marketplace, that contains about 100 pre-packaged applications ready to be installed in one click.
Application Marketplace
Now we will choose the right CMS for your website - and in our case it is a WordPress, a free and open-source content management system (CMS) written in PHP and paired with a MySQL or MariaDB database.
Next steps are about how to install WordPress Cluster Kit with built-in choice of servers, database clustering and scaling mode to create optimal environment for highly-loaded projects. The package provides integrated autoscaling and high availability for development and production environments. Clustered topology ensures effective handling of heavy workload
You can also choose WordPress Standalone Kit with built-in kit for choosing optimal application servers and a set of advanced features for running websites and blogs. WordPress CMS deployed as a lightweight standalone container with minimal allocated resources for cost efficiency.
So let’s get it installed.
1. Click the Marketplace button at the top of the dashboard.

2. Find the required solution within the categorized list to the left or using the search field at the top.
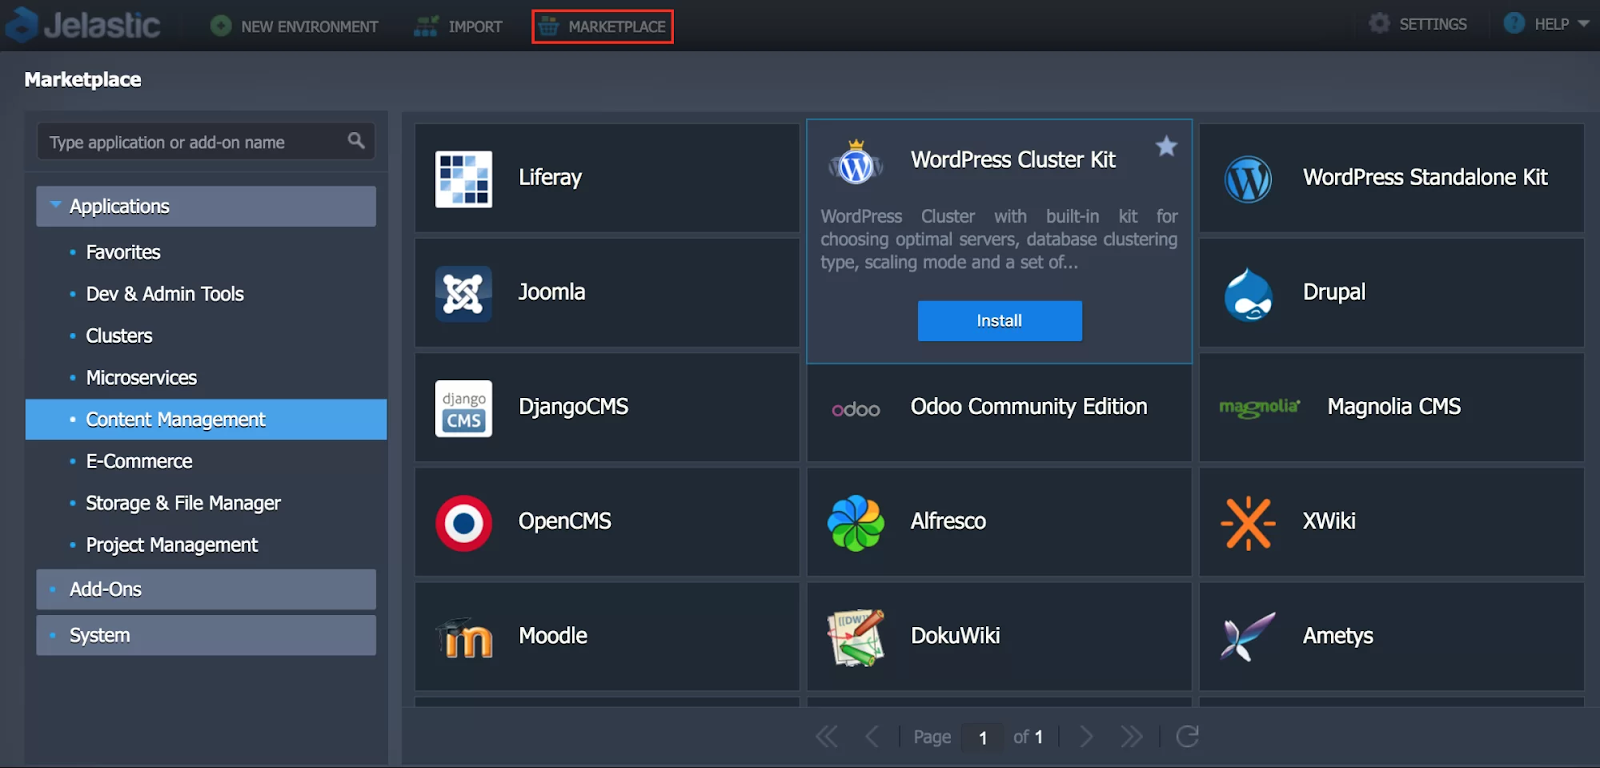
Hover over the application plank and click the Install button.
3. Configure installation preferences (e.g. write down the environment name, choose the load traffic and tip the advanced features if you want) and click Install.
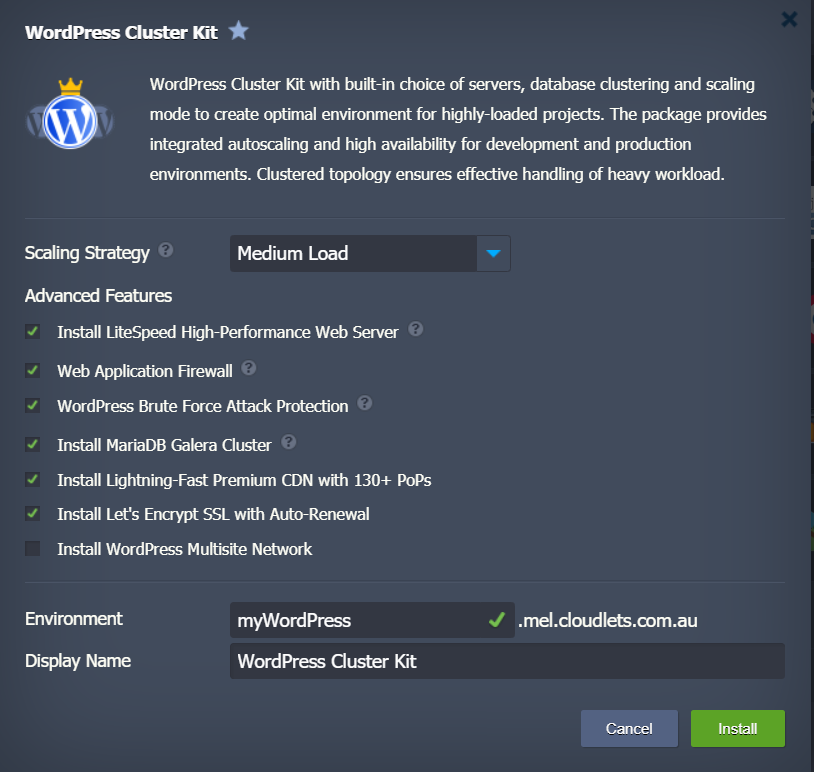
All the further steps will be performed automatically by the platform, i.e. an environment with the required topology creation, the appropriate application deployment, the required dependencies installation, connections (e.g. with a database) and config settings.
So, in just a few minutes, you’ll be ready-to-work with your application. Meanwhile just relax and make a drink ;-)
As soon as your environment is ready, you will receive an email that the environment is successfully created. You will also find the credentials to log in to the WordPress admin panel

Click Open in Browser.
And voila - your own WordPress website is up and running, and we bet it was the easiest installation ever!
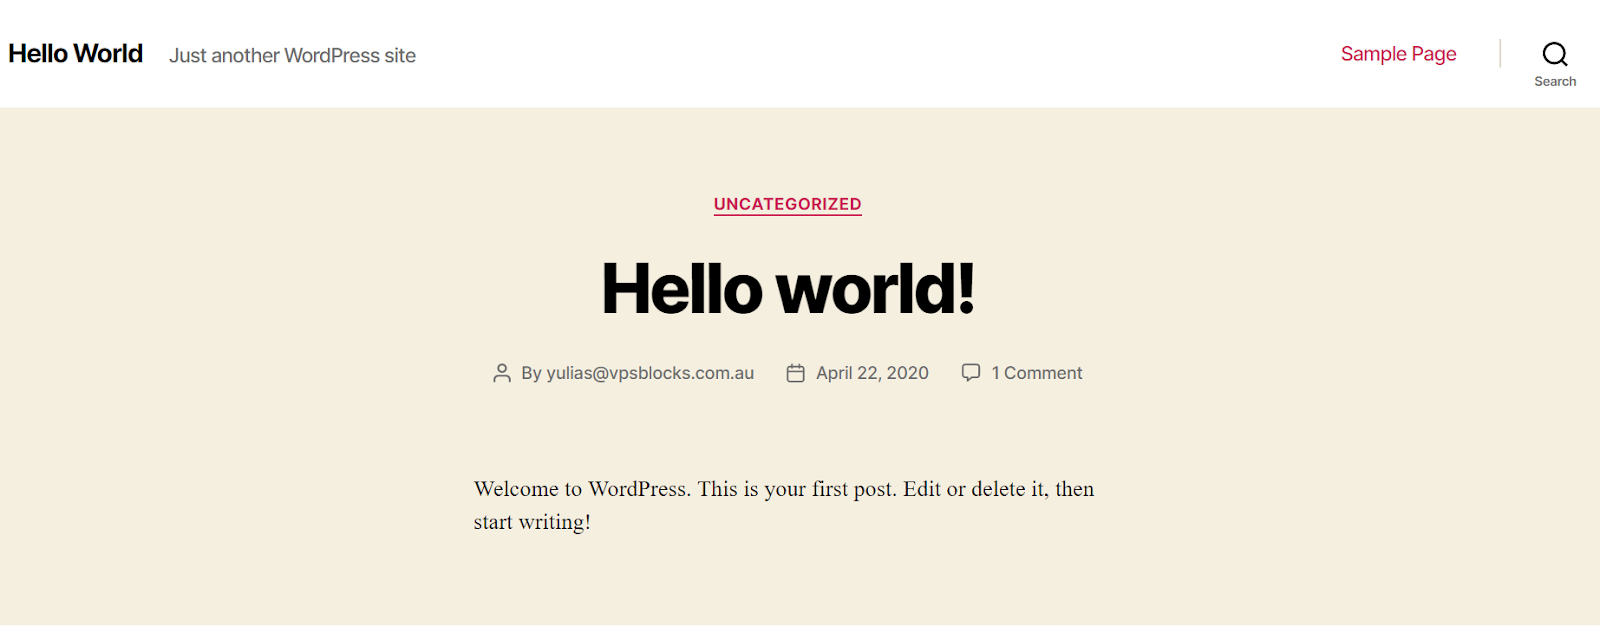
Well, now you can start creating your own website

And the last step is choosing a domain. Within Cloudlets powered by Jelastic, you can set external domain address for your site, instead of the default environment URL (i.e. {env_name}.{hoster_domain_name}). The custom domain allows promoting your unique branding and improve your web application recognition over the Internet. To learn more how to purchase, configure, and bind your domain name within your account please refer to Jelastic documentation.
As you can see, no special technical knowledge is required to create and host your WordPress website at Cloudlets hosting in Australia - in my case it took just about an hour all in all.
Cloudlets provide FREE TRIAL for all customers from Australia, so you can follow these steps and play with your own installations within the cloud platform.
Still, in case you have any questions, or would like to migrate your WordPress website to Australian cloud hosting - please contact us to request more details.