In the previous guide we've unveiled how to install the PrestaShop e-commerce solution.
And whilst it is mandatory to make the store working via HTTPS protocol as each online e-commerce site requires a custom domain, today we'll show how to create and bind a custom domain as well as enable SSL traffic encryption.
1. Go to the environment at the dashboard and press Change Environment Topology.
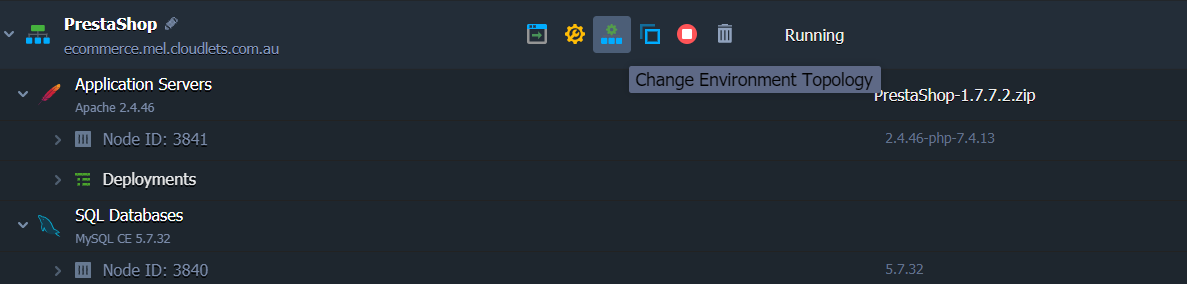
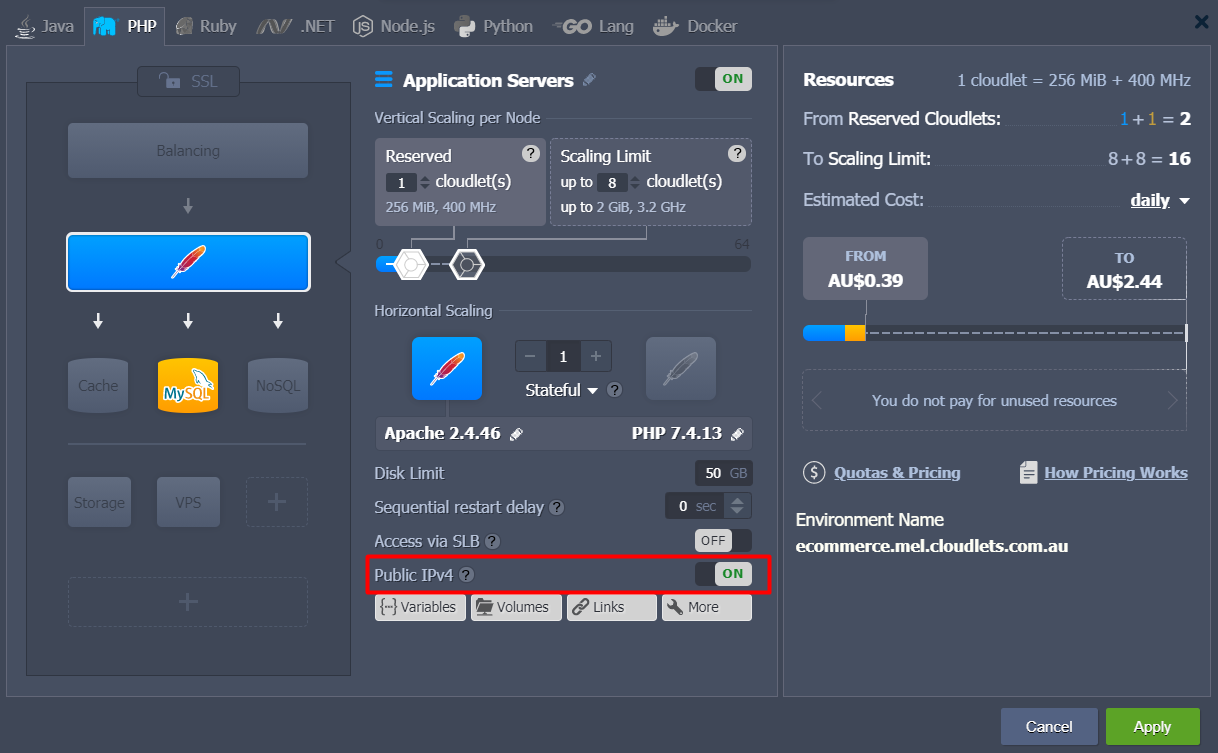
2. Add a public IPv4 address to the Apache application server.
3. Create an A Record for your custom domain that will be bound to the generated public IP at your domain registrar, for example, test.shop.com.au
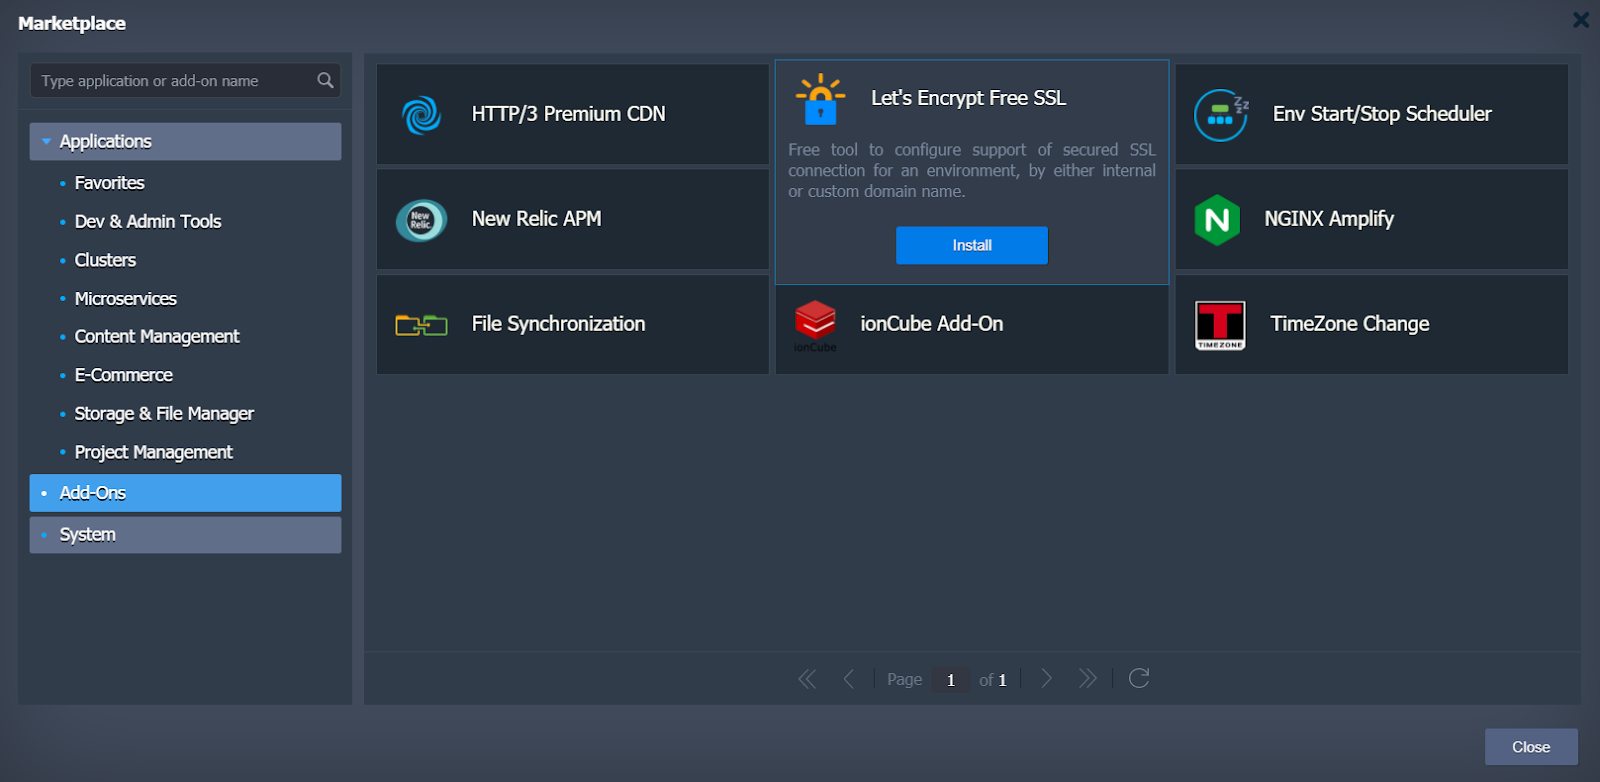
4. Now install Let’s Encrypt SSL Add-on from the Marketplace.
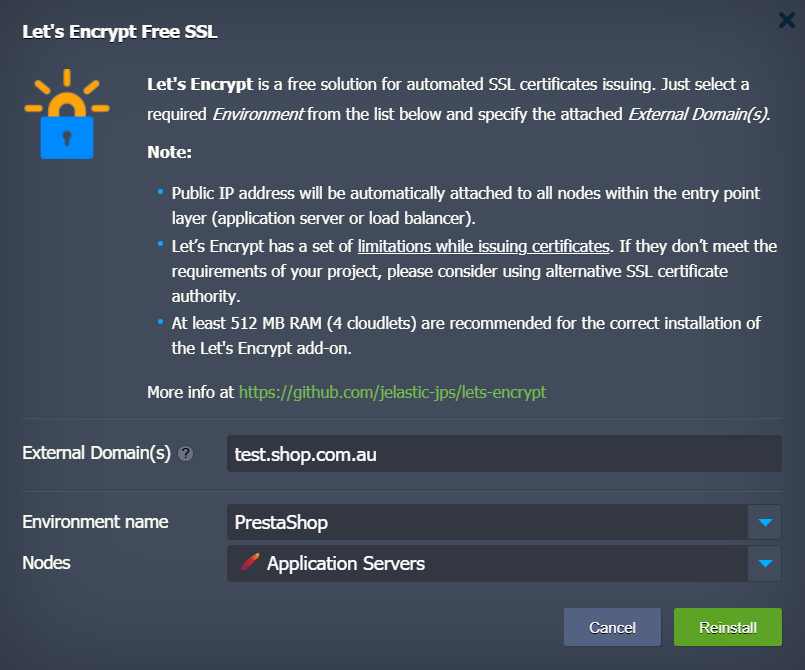
5. Put the custom domain name in the External Domain(s) field.
6. And now let's change the online store URL.
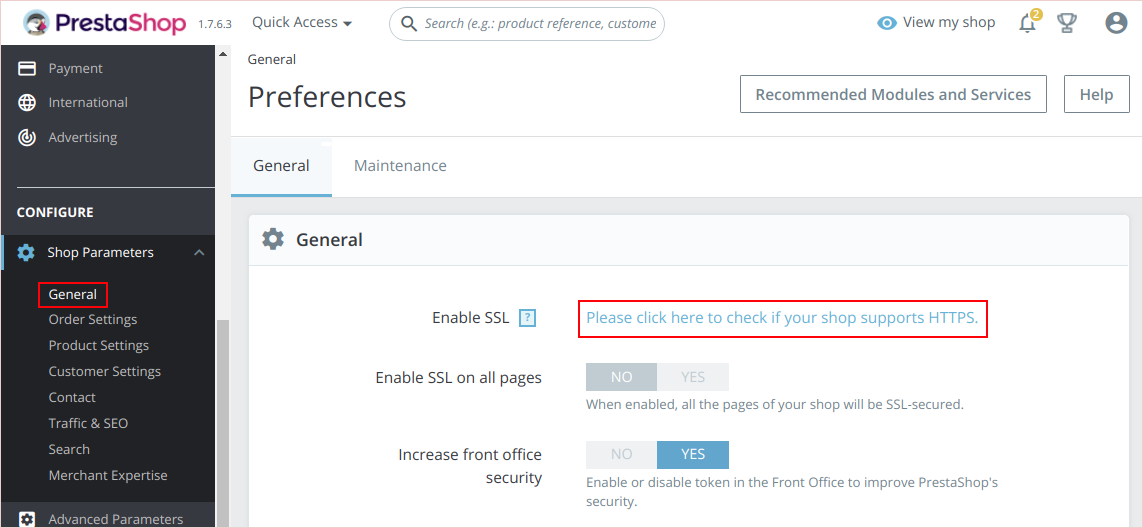
- Open admin panel, then go to the General settings and click on “Please click here to check if your shop supports HTTPS.”
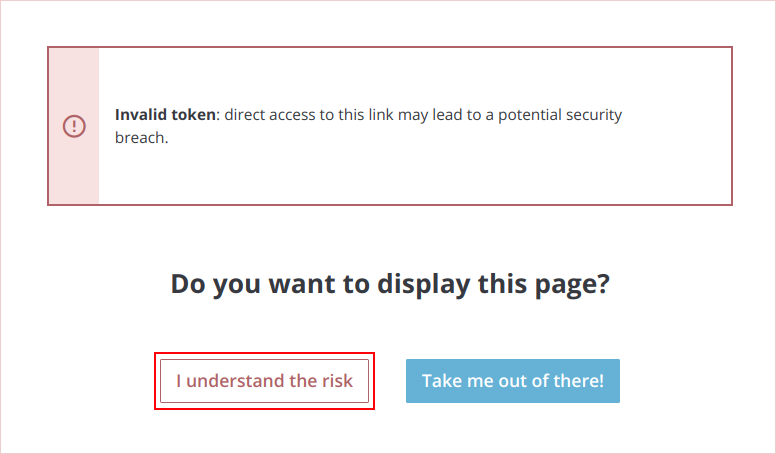
- Proceed through the several steps of the web browser warnings of unsecure connection and accept the risk to login to the insecure Admin panel.
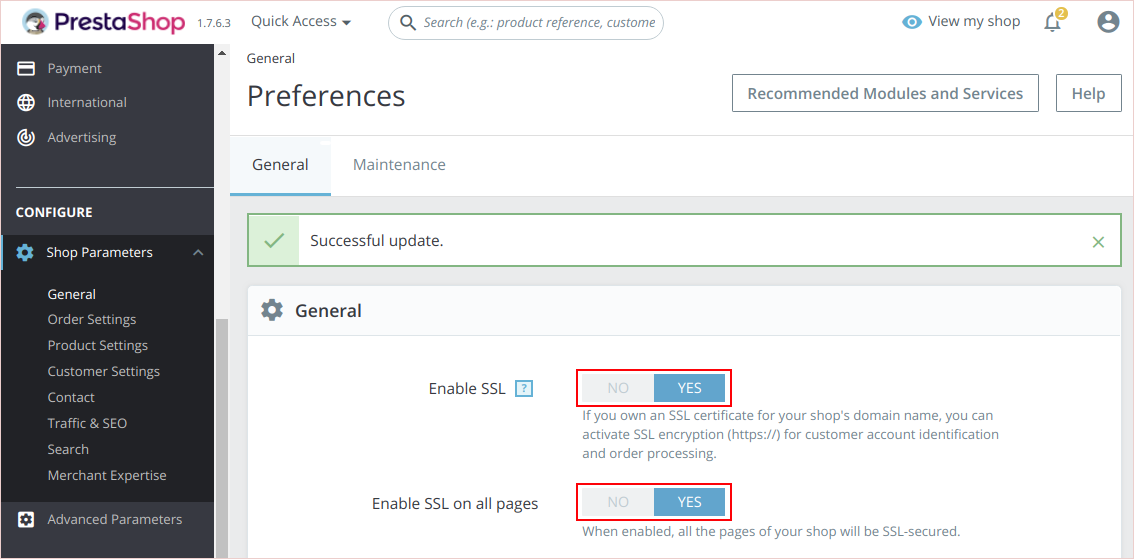
- Switch to Yes the Enable SSL and Enable SSL on all pages. Scroll down and press the Save button.
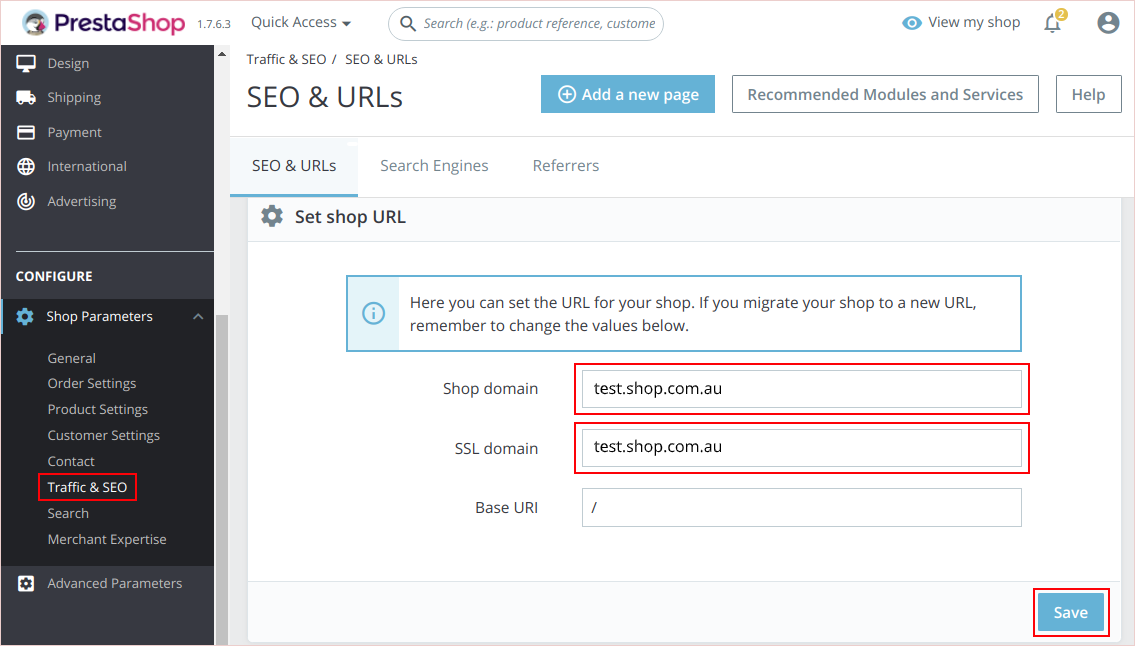
- Change the site URLs and re-login to the Admin panel with the custom domain.
Now you can fill your shop with the real data and start serving your customers.
Try out to reproduce the abovedescribed steps and run your own e-commerce at https://cloudlets.com.au/