Running multiple environments requires enough capacity in order to handle different project versions. Such a case may initiate the issue of proper traffic distribution between your project copies.
To eliminate this obstacle, Cloudlets Australia provides free solution, which is based on the automatically configured load balancer.
It is available as a special Traffic Distributor add-on, which could be installed via one-click from the Marketplace.
The solution provides such benefits as:
high availability and advanced failover - share the load among two copies of your project to achieve better failure protection
Blue-Green (zero downtime) application deploy - redirect all incoming requests to a single backend for the time another one is undergoing the maintenance
ongoing A/B testing - route the incoming traffic between two different project versions, compare their performance and UX rates to choose the best one for production
intuitive UI - configuration form allows to set all the main parameters of your traffic distributor
health check - both backends are automatically checked for a normal response according to the configurable parameters (frequency, timeout, etc.)
flexibility & extensibility - beside of the main distribution settings, available by means of add-on’s graphic interface, you are also able to apply any required additional tuning via NGINX configuration files manually
So, Traffic Distributor allows to speed up processing of requests, decrease user’s response delay and handle more simultaneous threads without failures.
Routing Methods
Within Traffic Distributor solution you can choose among 3 different routing methods:
Round Robin - the most popular routing method, which allows to distribute traffic among your environments equally, pointing each request to them in rotation (i.e. one-by-one) due to the set backend priorities.
Using this option requires providing the identical content on both of your backends.
Sticky Sessions - is based on “sticking” each user to a specific backend, which will process all their requests until the corresponding user session, created on the first app visit, expires.
Failover - allows to set the backup copy of your primary server and keep it on a standby (reserve) until the first one’s failure. In case of any issue with the main backend, all of the requests will be automatically redirected to the working server, and users won’t notice any interruption.
To get your own Traffic Distributor, you have to fill in the form with a number of main parameters and start automatic installation.
Traffic Distributor Installation
Let’s walk through the Traffic Distributor installation steps to accomplish such goals as
- even servers loading,
- applying blue-green deployment to install app updates with zero downtime,
- performing on-going A/B testing,
- applying advanced failover protection, etc.
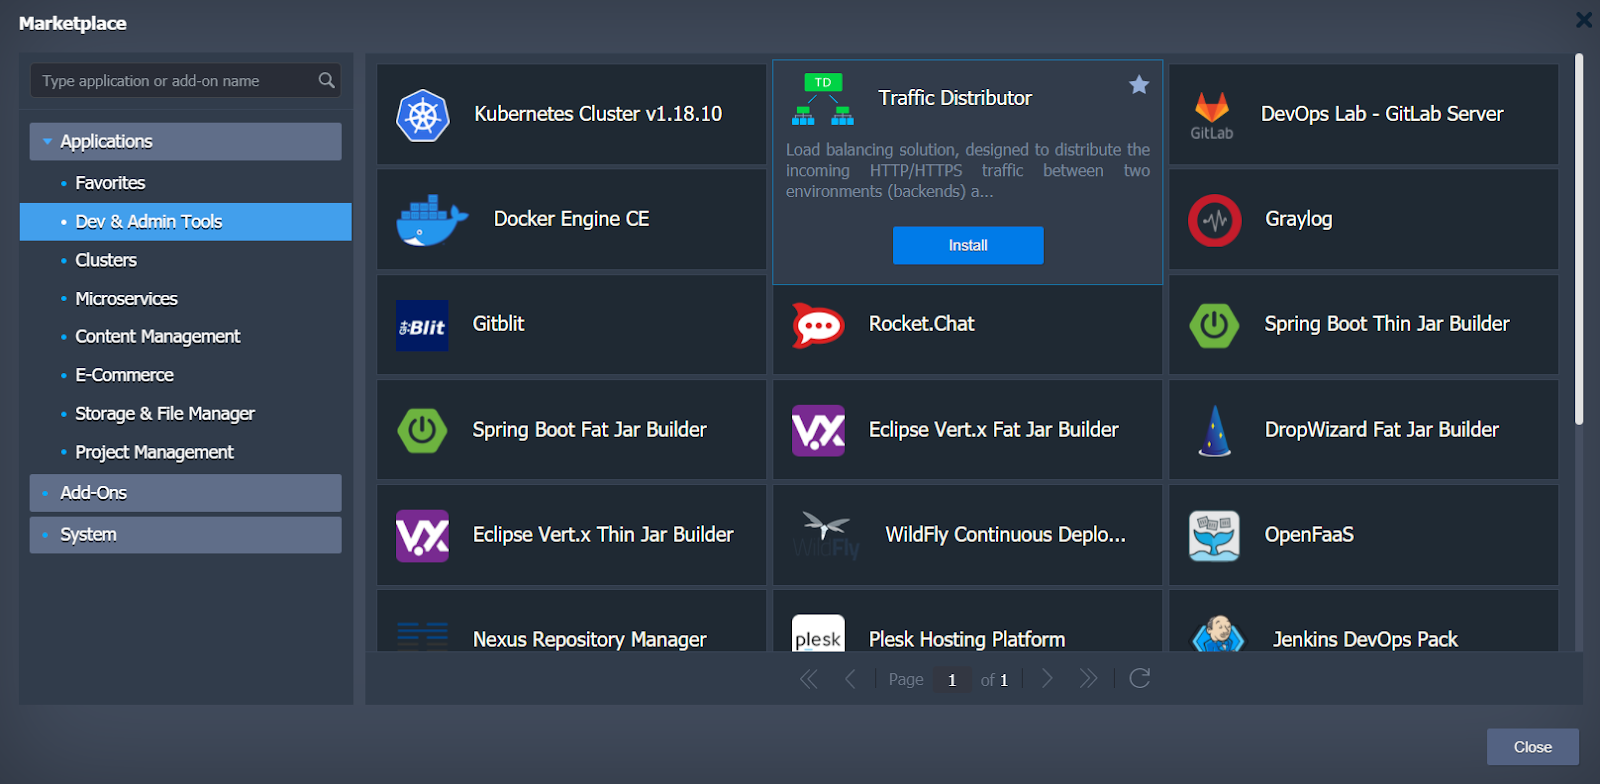
1. Log in or register at Cloudlets Dashboard. Open the Marketplace at the top of the dashboard.

2. Navigate to the Dev & Admin Tools section, select the Traffic Distributor package and click Install.
3. Check out the frame with a brief solution overview and some of its key benefits:
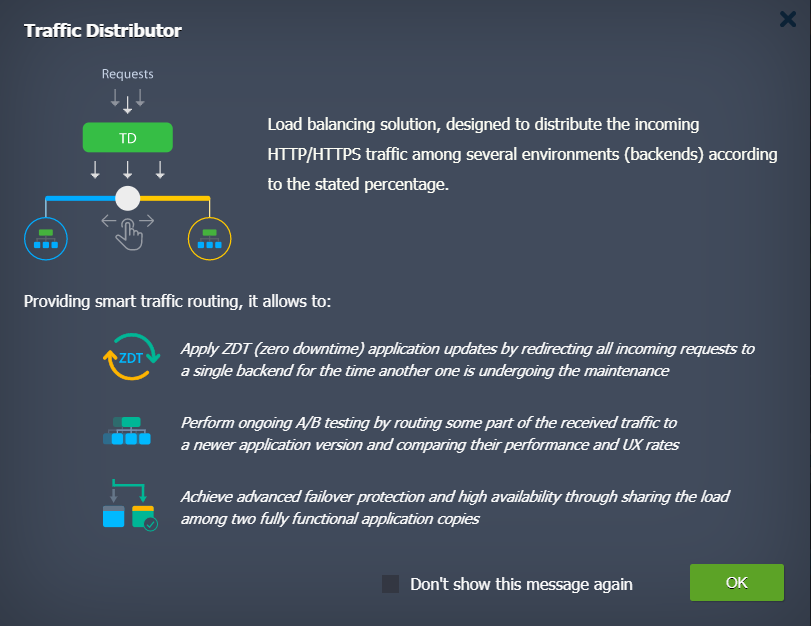
Click OK to proceed.
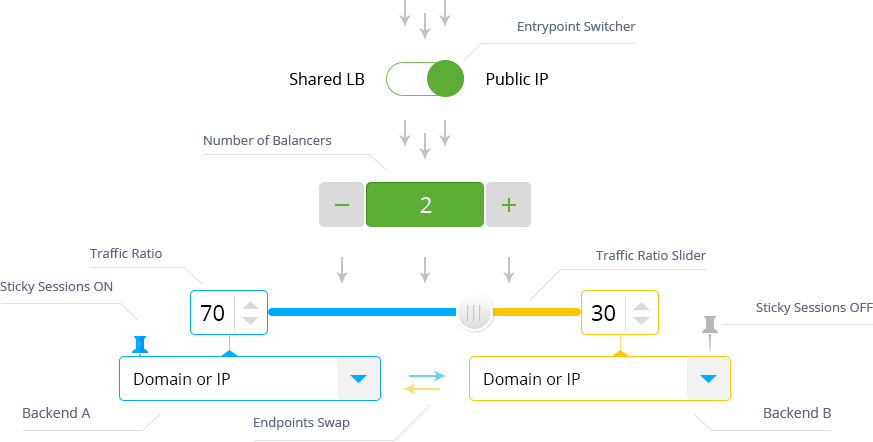
4. Within the appeared installation frame, you can specify the required parameters to configure your Traffic Distributor topology as well as set up desired routing for backends.
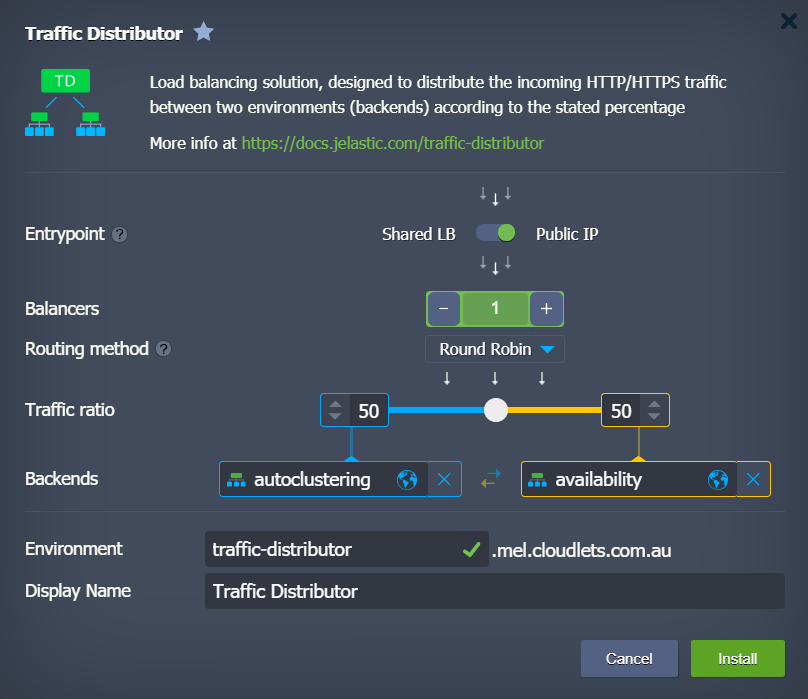
- Entrypoint - switcher with either Shared Load Balancer or Public IP position
- Balancers - the amount of the NGINX instances, you would like to add to the Traffic Distributor topology
- Routing method - select from the three available types of traffic distribution: Round Robin, Sticky Sessions and Failover
- Traffic ratio - set backend’s weight (priority) to control the requests distribution
- Backends - select two environments to be balanced, either from the automatically fetched list of available ones from your account or type in the required IP address / domain name (for custom host)
- Environment - domain name for your environment
- Display Name - optionally, alias to be shown for environment (Traffic Distributor by default)
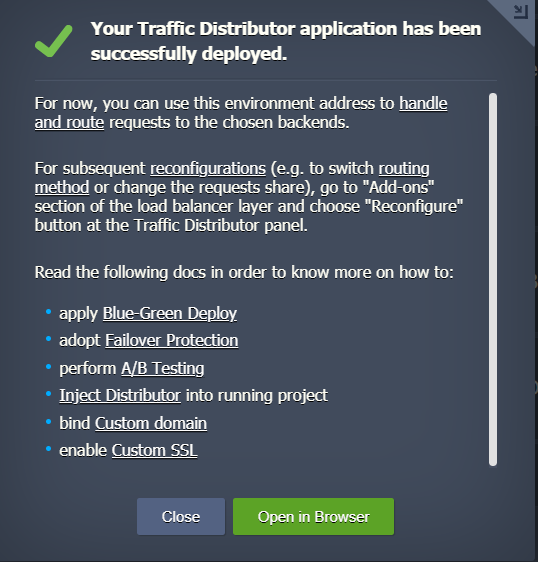
5. In a several minutes, you’ll see an installation success window.
How to Reconfigure Traffic Distributor
After your Traffic Distributor is installed, you’ll get a dedicated environment with the NGINX load balancer(s) and a special add-on attached, ensuring quick and simple re-configuration possibility.
1. Hover over the NGINX instance in your Traffic Distributor environment and click the Add-ons button to open the corresponding tab.
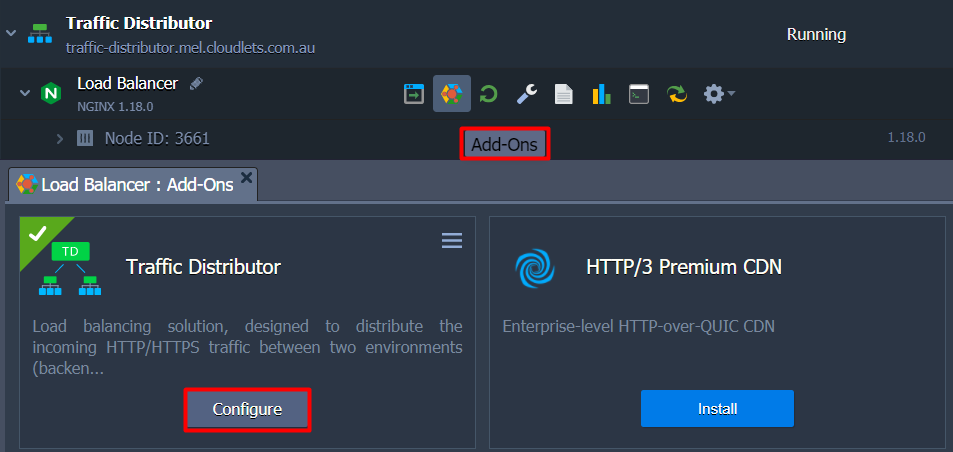
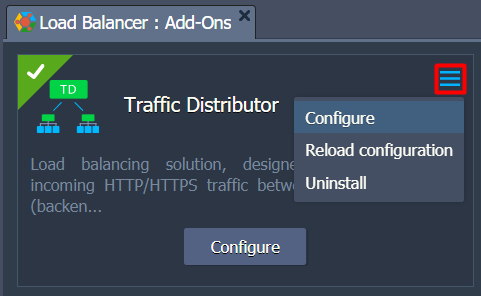
2. Click the Configure button in center of the frame or select the appropriate option from the menu list in the top right corner.
3. Within the opened form, you can re-configure any Traffic Distributor option just as during installation process:
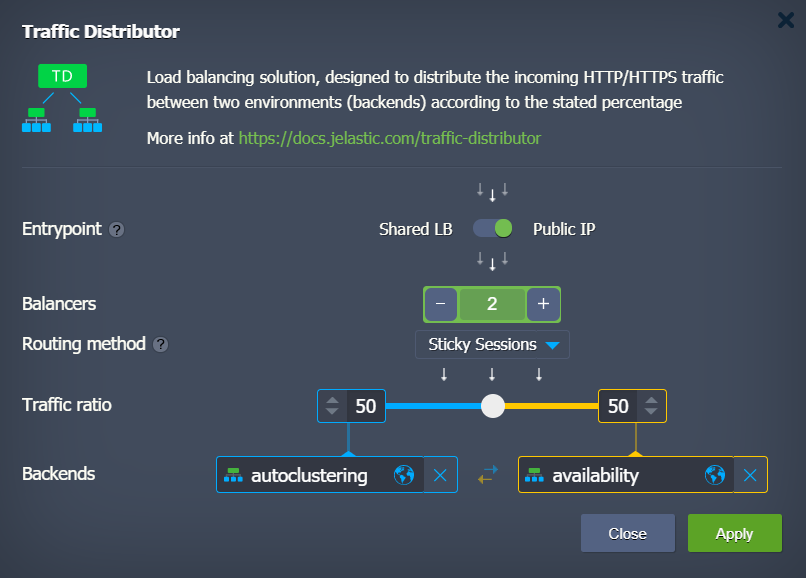
Confirm changes with the Apply button.
4. In a few moments you’ll see the success notification at the top right corner of dashboard.
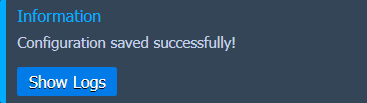
Click on the Show Logs button to open the dedicated file.
5. Within the opened traffic-distributor log, you can find information on the actions applied to your add-on with the corresponding operations timestamps and current distribution values:
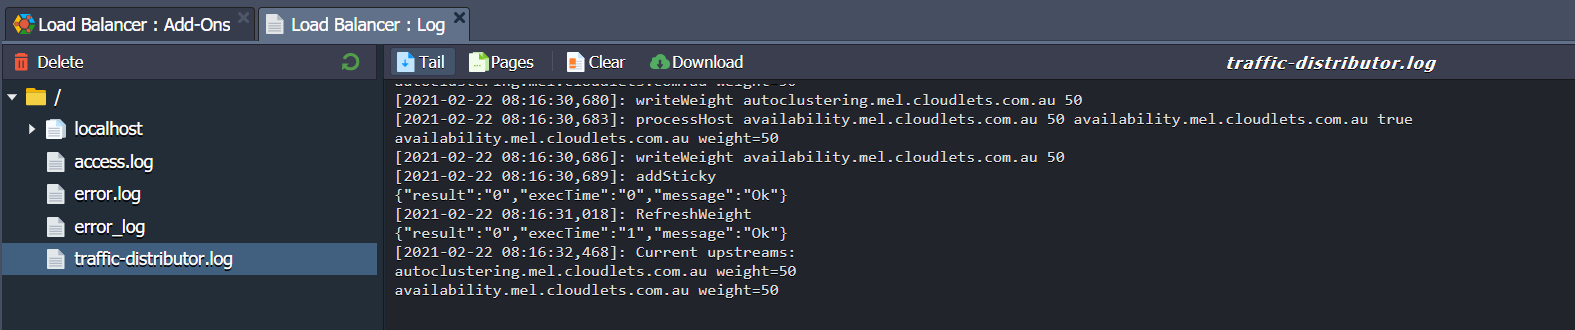
You can also access this log file manually at any time.
This is all!
Register free to test drive the Traffic Distribution and:
- apply “invisible” application updates with blue-green deployment
- examine performance, user experience and new app version’s stability through A/B testing
- increase service availability with advanced failover protection.